I used to think bakery-style bread required a $500 stand mixer and years of experience.
Turns out, what I was missing wasn’t skill — it was proper proofing.
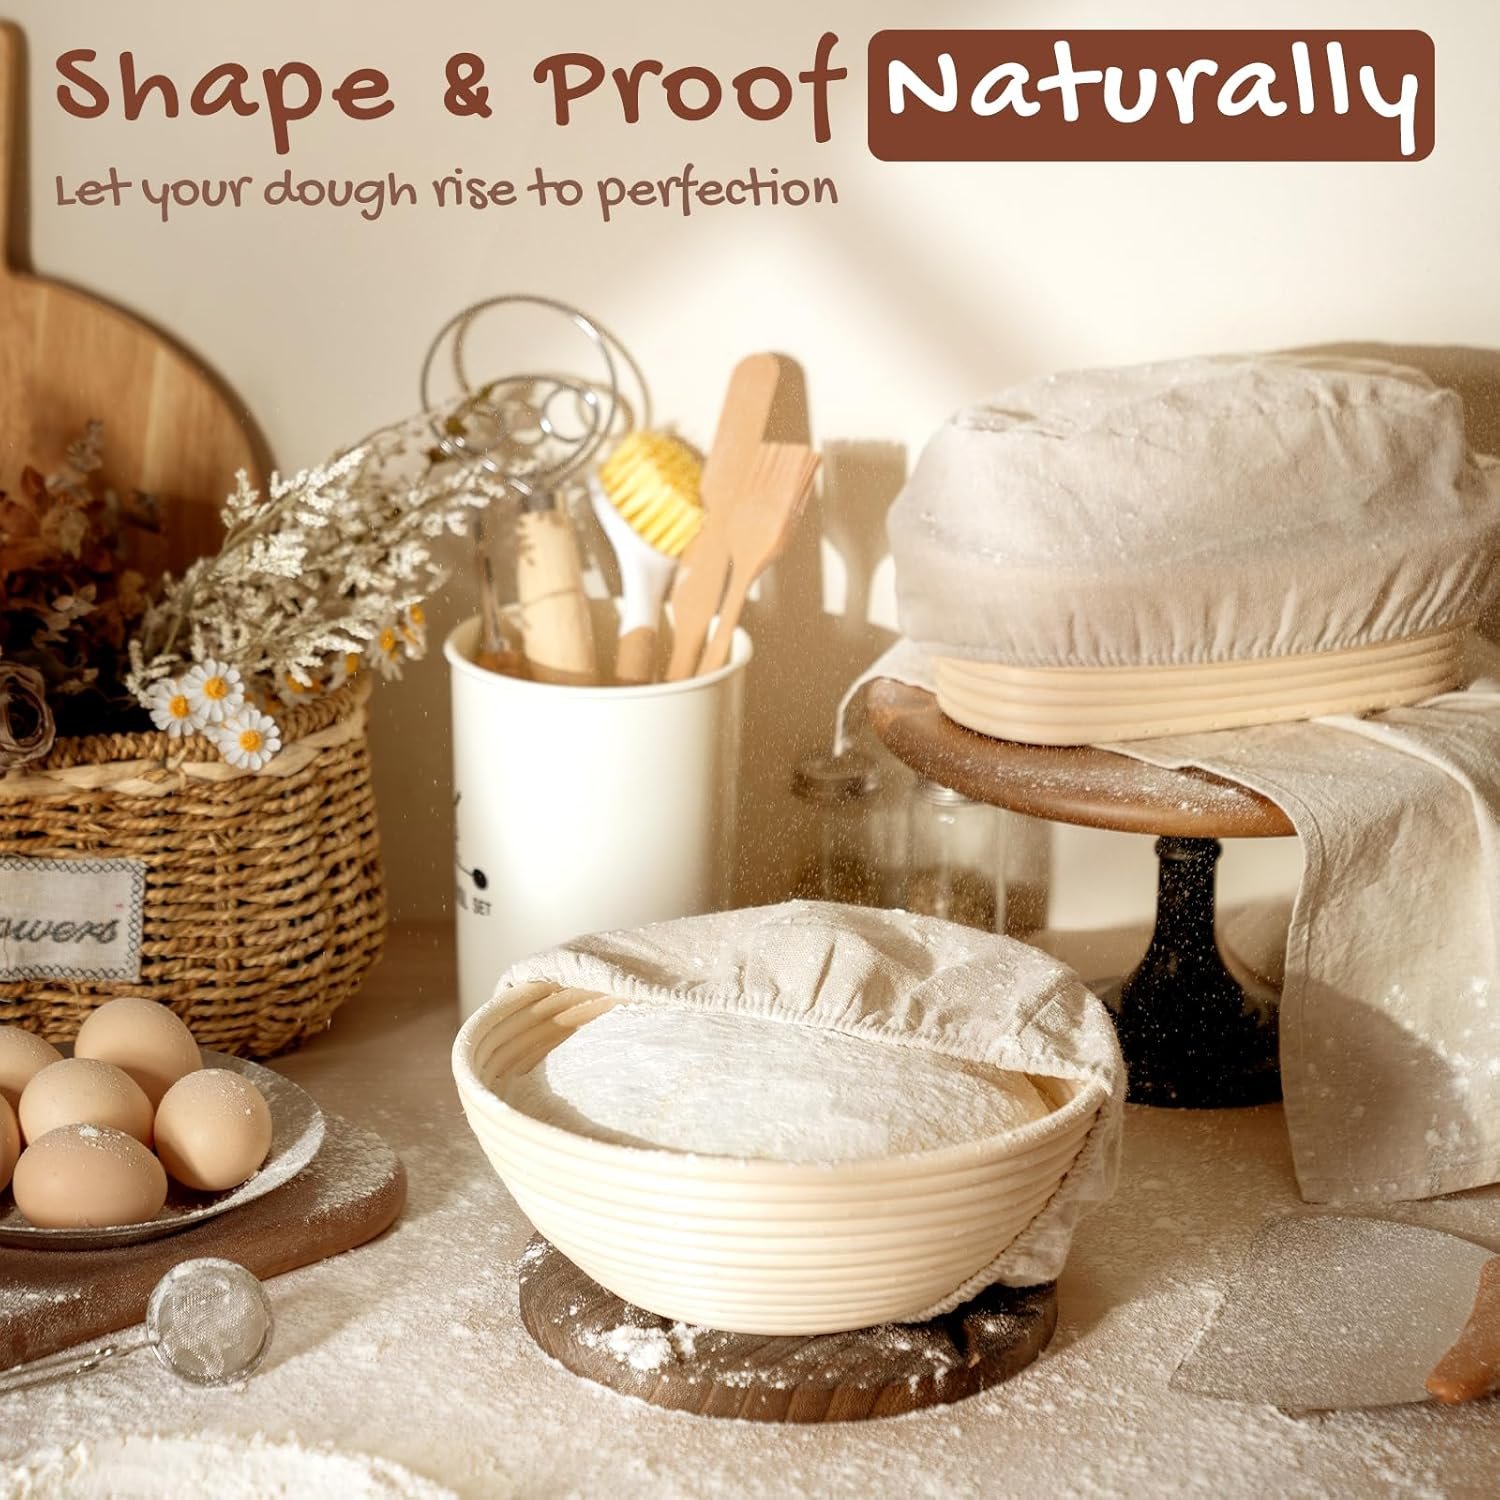
This $55 bread proofing basket set completely changed the texture, rise, and crust of my homemade loaves.
The Proofing Basket Set That Upgraded My Bread Overnight
This is one of Amazon’s top-rated banneton basket sets in the $50–$60 range, designed specifically for artisan-style sourdough and rustic loaves.
What makes the difference:
- Natural rattan baskets for airflow
- Includes round and oval shapes
- Breathable design prevents soggy bottoms
- Dough scraper + liner included
- Creates those classic spiral flour patterns
Why Proofing Baskets Matter More Than You Think
When dough proofs in a regular bowl, it spreads outward.
When it proofs in a banneton basket, it rises upward and holds structure.
That means:
- Better oven spring
- Thicker, crispier crust
- More open crumb texture
- Professional-looking shape
If you’re still building your baking setup, this pairs perfectly with foundational tools mentioned in Best Beginner Kitchen Tools for Cooking:
https://kitchenstarterguide.com/best-beginner-kitchen-tools-for-cooking/
Before vs After Using a Proofing Basket
Before:
- Flat, wide loaves
- Dense crumb
- Pale crust
- Inconsistent shape
After:
- Tall, structured rise
- Crisp artisan crust
- Airy interior
- Bakery-style scoring patterns
The first loaf looked like something I’d paid $8 for at a farmer’s market.
Tips for Getting Perfect Results
- Flour the basket generously
Rice flour works best to prevent sticking. - Don’t skip final proof time
Structure comes from patience. - Preheat your Dutch oven fully
Hot start = better oven spring. - Let the loaf cool completely
Cutting early ruins crumb texture.
If you’re starting to batch bake for the week, it fits naturally into routines like the ones in Simple Meal Prep Ideas for Beginners:
https://kitchenstarterguide.com/simple-meal-prep-ideas-for-beginners/
Q&A: Bread Proofing Questions Beginners Ask
Q: Do I need this for sourdough only?
No. It works for any high-hydration artisan loaf.
Q: Can I use a bowl instead?
You can — but you won’t get the same structure or crust.
Q: Is it hard to clean?
No. Let it dry fully and brush out excess flour.
Q: Does this actually improve taste?
Indirectly — better fermentation and crust development enhance flavor.
Final Take
This $55 bread proofing basket set didn’t just make my bread look better — it made it rise better, bake better, and taste better.
If you’re trying to make real artisan-style loaves at home, this is one of the most affordable upgrades you can make.
Better structure. Better crust. Bakery-level results.
Affiliate disclosure: This article may contain affiliate links. If you purchase through them, KitchenStarterGuide may earn a small commission at no additional cost to you.